A Beginner's Guide to Setting Up a Brooder for Chicks
Bringing home a batch of adorable baby chicks is an exciting step for anyone interested in raising poultry. However, to ensure the health and well-being of these young birds, you'll need to create a suitable environment for them. That's where a brooder comes into play. In this blog post, we'll walk you through what a brooder is and how to set one up to provide a safe and comfortable home for your newly hatched or newly purchased chicks.
What is a Brooder?
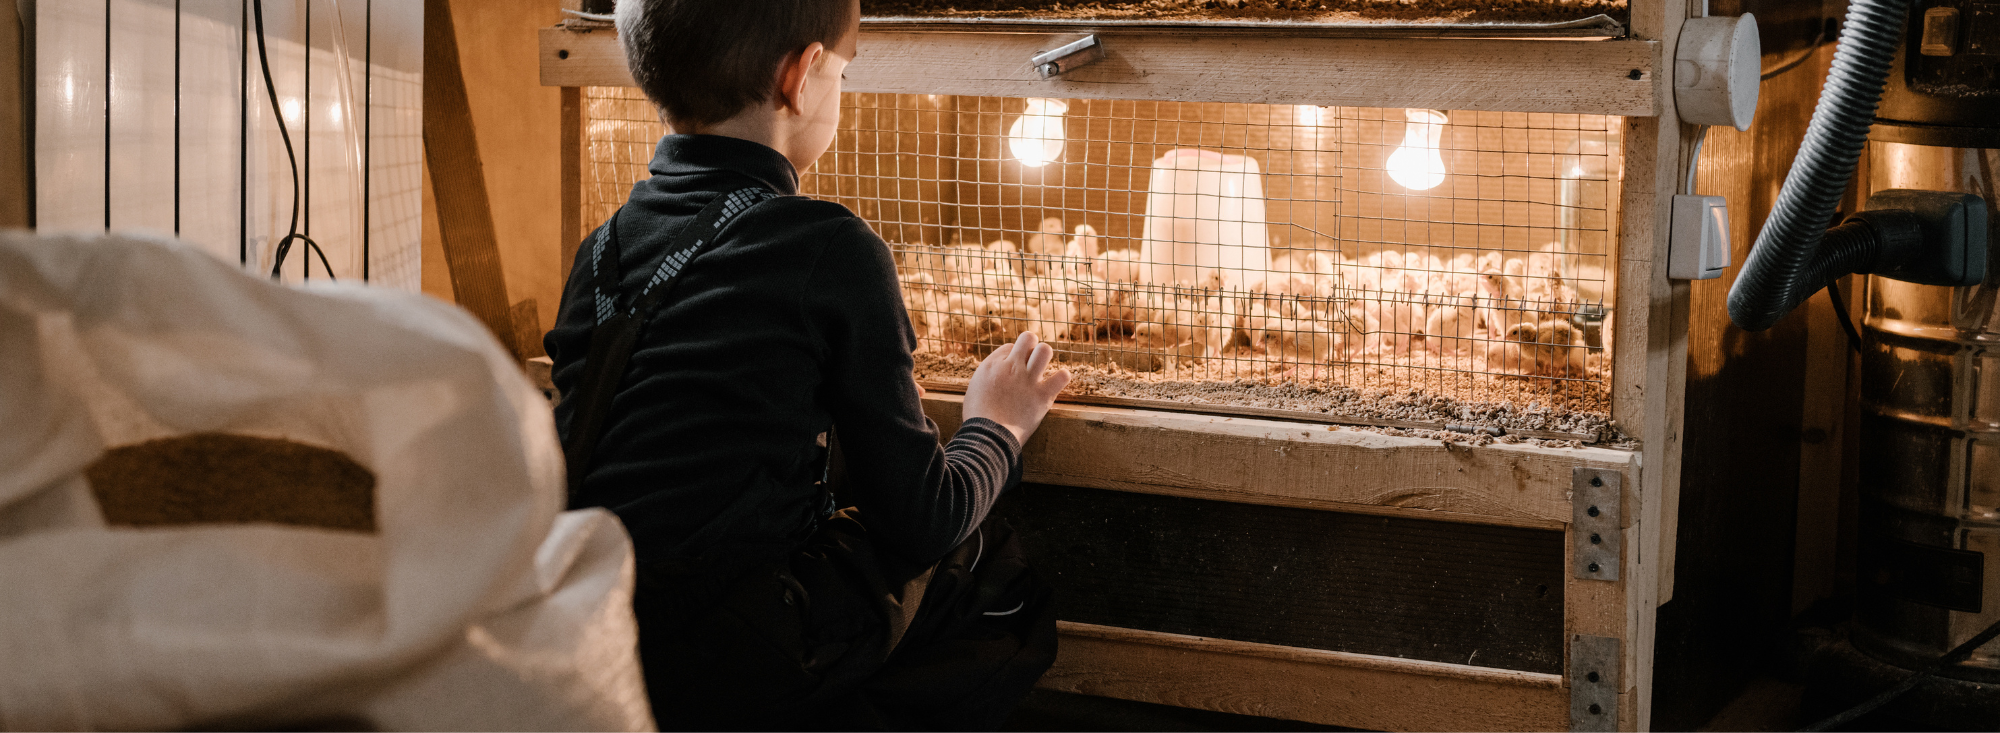
A brooder is essentially a warm, controlled environment designed to mimic the conditions of a mother hen's care. It serves as a temporary home for baby chicks during their first few weeks of life, ensuring they stay warm, comfortable, and safe. Brooders are typically used until the chicks are old enough to regulate their body temperature and feather out, usually around 4-6 weeks of age.

Setting Up Your Brooder
Step 1:
Select a Suitable Container: The first step in setting up a brooder is choosing the right container. You can use a variety of options, including large cardboard boxes, plastic tubs, wooden crates, or purpose-built brooder boxes. Ensure that it is spacious enough to accommodate your chicks and easy to clean.
Step 2:
Provide Adequate Heat: Chicks require a constant heat source to maintain their body temperature, as they cannot do so themselves during their early days. A heat lamp or a brooder heater is commonly used for this purpose. The heat source should be adjustable to control the temperature within the brooder.
Step 3:
Choose Bedding: Line the bottom of the brooder with suitable bedding material such as pine shavings, straw, or paper towels. Avoid using newspaper, as it can become slippery and cause leg issues for the chicks. The bedding should be clean, dry, and changed regularly to prevent disease and maintain a hygienic environment.
Step 4:
Install a Thermometer: Place a thermometer at chick level within the brooder to monitor the temperature. For the first week of their life, chicks should be kept at a temperature of around 95°F (35°C). Gradually decrease the temperature by 5°F (2.8°C) per week until they are fully feathered.

Step 5:
Ensure Good Ventilation: While chicks need a warm environment, it's also crucial to maintain good ventilation to prevent the buildup of ammonia and promote healthy air circulation. Provide small vents or openings near the top of the brooder but ensure they don't create drafts.
Step 6:
Offer Food and Water: Provide chick-specific feed and fresh, clean water at all times. Use chick-sized feeders and waterers to prevent waste and contamination. Place these away from the heat source to avoid overheating and spoilage.
Step 7:
Maintain Cleanliness: Regularly clean and sanitize the brooder to keep it free from feces, food debris, and dust. Dirty bedding can lead to health problems for your chicks.
Step 8:
Monitor Chicks' Behavior: Pay close attention to the behavior of your chicks. If they are huddled together and chirping loudly, they may be too cold. If they are panting and staying away from the heat source, they may be too hot. Adjust the heat source as needed to maintain the right temperature.

Setting up a brooder for your chicks is a crucial step in their early development. By providing the right environment, including warmth, cleanliness, and access to food and water, you'll give your chicks the best possible start in life. As they grow and feather out, they'll become more resilient and ready to move to an outdoor coop. Enjoy the journey of raising these charming young birds, and watch them grow into healthy, productive members of your flock!
Check out the online Roobeez marketplace where you can shop adorable chicks for your brooder - shop.roobeez.com 🐣